User And Role
As the name suggests, User is a end user who is allowed login into CoreERP. These are normal users who can create/edit masters, create/edit/post transactions. CoreERP follows the principle of creating Roles and assigning Access Levels to each Role. User inturn belongs to a single or multiple Roles. When a user belongs to multiple Roles, the Role that provides him the highest previlege superseeds all other Access Levels for the same master/document accross Roles. This facilitates ease of maintenace when you are required to retire a user and/or change his access levels.
User
In CoreERP, User is at the level of System. A user, once created, is available accross companies.
- To create a new user, click on User in the Admin menu
- The User list would appear. Click on + button
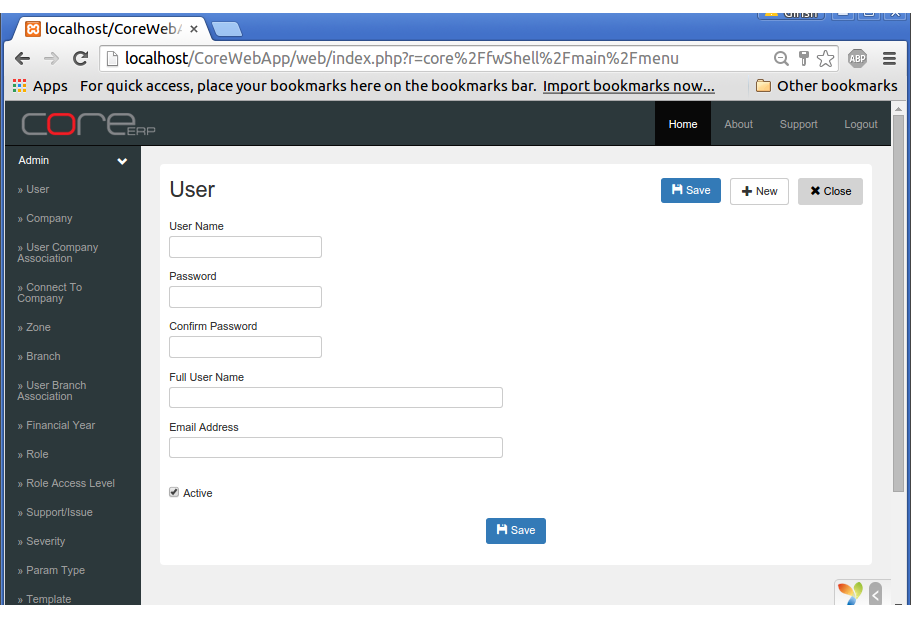
Each field is explained in the following table:
| Field Name | Required | Description |
|---|---|---|
| User Name | Yes | This is the User’s login name. System wide duplicates are not allowed |
| Password | Yes | This is the password with which the user can login |
| Confirm Password | Yes | This should be the same as password |
| Full User Name | Yes | Mention the User’s Full Name here |
| Email Address | Yes | Mention User’s Email address. This is required for sending notifications, Forgot Password link, etc. |
| Active | Yes | Toggle this to deactivate the user. Only active users are allowed to login |
After entring data for all fields, click on Save.
If you want to create more users, click on + New and enter information for more users.
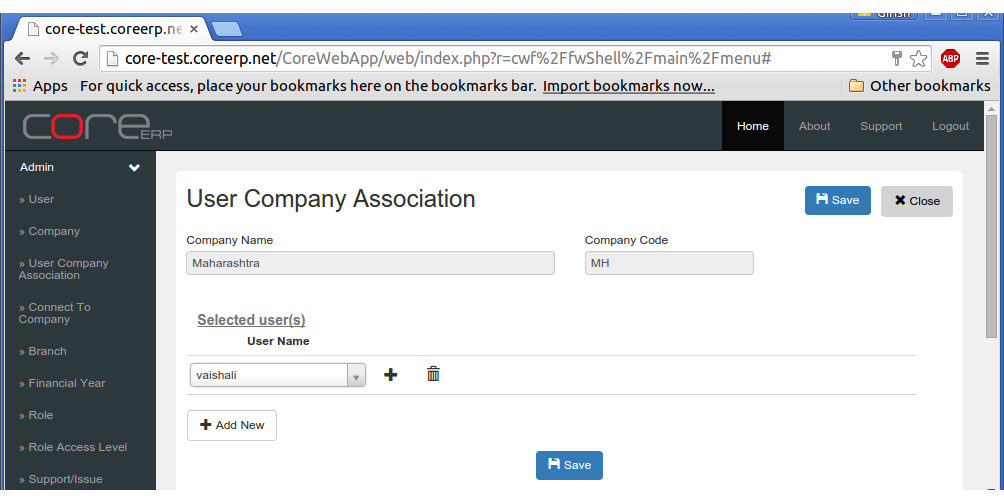
Every User created needs to be associated with a Company. It is only after this association, that the User-Role-Company association is activated in the system and the user gets to select the company after login.
- Click on User Company Association
- It will open the list of Companies. Click on Edit link to add users’ to the company
- Click on + Add New and select the user from the drop down.
- To remove a user, click on the
image next to the user name.
- Click on Save.
Warning
Always remember to click on  to Save your changes. If you Close without saving, your changes will be ignored.
Role
In contrast to a User, Roles are created inside a Company. Therefore, we will first connect to a Company. Since, you have logged in as the Admin/Superuser, you would be provided with a list of all companies available in the system.
- Click on Connect To Company
- Select your company
- Select the top most Financial Year
CoreERP would reload all the menus and display the connected company on top (right next to the logo).
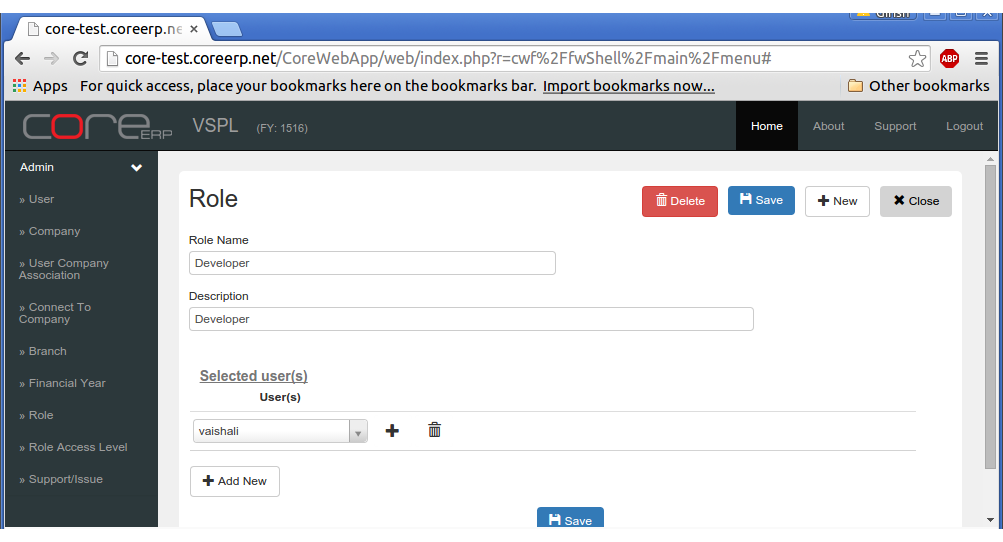
- Click on Role. The role list would appear.
- Click on + to add a new role
Role fields are explained in the following table:
| Field Name | Required | Description |
|---|---|---|
| Role Name | Yes | This is the Role name. Duplicates are not allowed |
| Description | Yes | Describe the Role. Helps explain the role name. |
Select user(s): These are the users who belong to the role.
- Click + Add New to include users in this role
- Click Save
You have only included users in a role within a company. The next topic explains Access levels.